Read Sharp SD-EX100H (serv.man6) Service Manual online
– 13 –
SD-EX100H
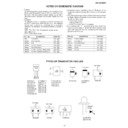
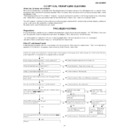
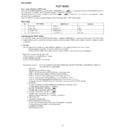
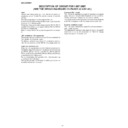
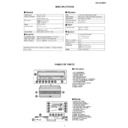
Inspection method of a 12-cm disc sensor
The sensor is located on the right of the insertion slot when you face the unit.
When the unit is in ejecting completed state, insert a card between the photo interrupters to cover the sensor. Check the change
in voltage while observing output (QD02 collector).
Note) When a 12-cm disc is loaded, the sensor cannot be blocked.
When the unit is in ejecting completed state, insert a card between the photo interrupters to cover the sensor. Check the change
in voltage while observing output (QD02 collector).
Note) When a 12-cm disc is loaded, the sensor cannot be blocked.
Card
(A1)x1
(B1)x1
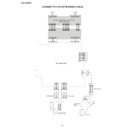
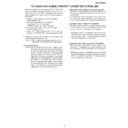
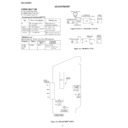
How to remove a CD (opening the CD door)
(See Fig. 13-2)
(See Fig. 13-2)
1. Rotate a worm gear (A1) x 1 downward when the CD slot is
closed.
2. The disc is unchucked to open the CD slot.
3. Place the unit upside down and remove the CD.
3. Place the unit upside down and remove the CD.
Figure 13-1
Figure 13-2
Figure 13-3
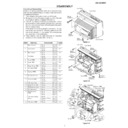
How to move the tray manually
(See Fig. 13-3)
(See Fig. 13-3)
Note) You can manually move the tray by removing the CD
mechanism from the unit.
1. Lower the CD mechanism.
2. When the tray is locked, move a lock lever (B1) x 1 downward
mechanism from the unit.
1. Lower the CD mechanism.
2. When the tray is locked, move a lock lever (B1) x 1 downward
using a thin screwdriver.
3. The unlocked tray can be moved by hand. (However, the
tray is locked again if it is lowered to bottom.)

