Read Sharp MX-FNX5 (serv.man2) Service Manual online
MX-M1100 MX-PNX3A / B / C / D 12 – 2
7)
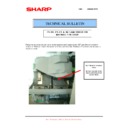
Insert the punch unit and fix it with 2 screws.
8)
Attach the spacer.
9)
Attach the Punch unit knob. (1 screw)
10) The cover removed in step 1 can be installed now.
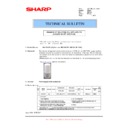
11) Connect the 3 connector as shown in the illustration.
11) Connect the 3 connector as shown in the illustration.
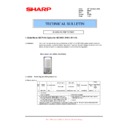
12) Install the punch waste collection container.
13) Attach the rear cover.
Punch unit
Spacer
Punch unit knob
3
2
1
Punch waste collection
Display

