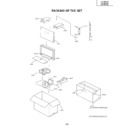
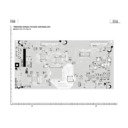
Read Sharp LC-26P50E (serv.man7) Service Manual online
9
LC-26P50E
LC-32P50E
LC-37P50E
LC-32P50E
LC-37P50E
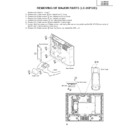
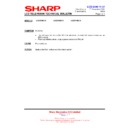
REMOVING OF MAJOR PARTS (LC-26P50E)
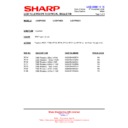
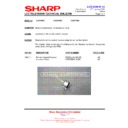
1. Remove the Terminal Cover1.
2. Remove the 1 lock screw 2 and detach the ID Cover.
3. Remove the 2 lock screws 3 and detach the Hinge Cover.
4. Remove the 4 lock screws 4 and detach the stand.
5. Remove the 21 lock screws 5 and detach the Rear Cabinet.
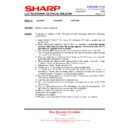
6. Remove the 4 lock screws 6and detach the Center Angle.
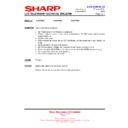
7. Loosen the 2 top cover ass’y fixing screws, and unplug the connecting cable from the KM (P1200) connector of
the AV unit to remove the top cover ass’y.
8. Remove the 3 lock screws 8 from Top Cover, and detach the KEY Unit.
10
LC-26P50E
LC-32P50E
LC-37P50E
LC-32P50E
LC-37P50E
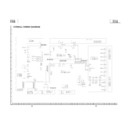
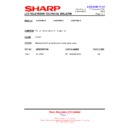
9. Unplug the FFC/FPC wires from SC4651, SC4652, and SC1202 - SC3701.
10.Unplug the connecting cables from these connectors: CN702, CN1701, CN1702, CN1703, CN1704, CN1705,
10.Unplug the connecting cables from these connectors: CN702, CN1701, CN1702, CN1703, CN1704, CN1705,
P5700, P1201, and P3900.
11.Remove the 9 lock screws 9 and detach the Power Unit.
12.Remove the 4 lock screws 0 and detach the Center Guide Angle.
13.Remove the 5 lock screws q and detach the Main Unit.
14.Remove the 5 lock screws w and detach the Main Shield(Top) and Main Shield(Bottom) from Main Unit.
15.Remove the 2 intermediate connector junctions of the speaker boxes to detach the right and left speaker boxes.
16.Remove the 2 lock screws e and detach the R/C, LED Unit.
17.Remove the 4 lock screws r and 2 lock screws t and detach the AV Unit.
18.Remove the 1 lock screw y and 2 lock screws u and detach the Chassis Frame and Tuneer Shiled from AV
Unit.
CN1701
CN1703
CN1702
P1201
CN702
SC3701
SC1202
SC4652
SC4651
CN1704
CN1705
P5700
P3900
!
"
!
!
!
#
#
"$
%&'
(
"$
%&)
* +
), '-.
11
LC-26P50E
LC-32P50E
LC-37P50E
LC-32P50E
LC-37P50E
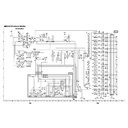
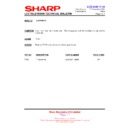
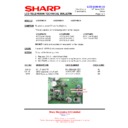
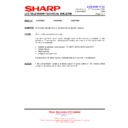
19.Loosen the 6 inverter unit ass’y fixing screws i, and unplug the connecting cables from the 8 lamp wire connectors
to remove the inverter unit and inverter shield.
20.Remove the 2 lock screws o and detach the LCD Unit.
12
LC-26P50E
LC-32P50E
LC-37P50E
LC-32P50E
LC-37P50E
!"#$%%
&'( )*+ *
), - ./
)-)%0 1%
),
2
1)345%%
- ./
-)%052
)
6)%%
)
-)%002
&++,
7*+
7-80%%
6
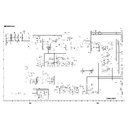
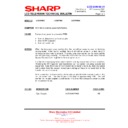
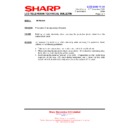
21.Remove the 4 LCD Panel unit lock screws p and detach the LCD Panel unit. Detach the Difusion Sheets and
Difusion Panel.
22.Remove the 6 lock screws a and 4 lock screws s, and detach the Panel fixing Angles from Panel Holder.
23.Remove the 2 Glass Fixing Angle lock screws d and detach the Glass Fixing Angles. Detach the LCD Panel.
24.Remove the 4 Lamp Holder lock screws f and detach the Lamp Holders. Datach the Lamps.
23.Remove the 2 Glass Fixing Angle lock screws d and detach the Glass Fixing Angles. Detach the LCD Panel.
24.Remove the 4 Lamp Holder lock screws f and detach the Lamp Holders. Datach the Lamps.
REMOVING OF LCD PANEL UNIT (LC-26P50E)

